Simple Tips for Painting Furniture
Grab your paintbrush! Today I’m sharing a few of my best tips for painting furniture. It’s so much easier than you think!

I remember the very first time I had the idea to paint of piece of our furniture. It was a cabinet that we had, and I had seen so many pictures floating around Instagram and Pinterest of similar cabinets painted white. Without thinking twice I grabbed my paint brush, and started slapping paint on. I’ve learned a thing or two since then, and I’ve literally painted almost every piece of furniture in our entire house. Today, I’m sharing a few tips for painting furniture, and a quick video with a recent side table transformation I completed.

1. Start with a really good primer.
This is one step that I always thought was wasteful. I never understood why you’d prime a piece of furniture…Until a small bookcase I had painted had peeling paint within a week of painting. Then, I learned about Bonding Primer. Game. Changer. I’ve been singing Valspar Bonding Primers praises since 2017, and I won’t stop now. I’ve used on nearly every single piece I’ve painted around here. I first used it when I painted my kitchen cabinets. I learned that by using bonding primer I didn’t have to sand the very shiny top coat off the cabinets. I applied a coat of primer, and nearly 4 years later they haven’t scratched once. I know it may seem like an extra step, but investing the time and resources into a good primer will save you so much work in the long run.
2. Invest in a good brush.
Again, something I did not do at first. Admittedly I didn’t really invest in them until sometime last year. Boy, what a difference it made. The paint glides on, the bristles don’t fall out and get in my paint, and I’ve even noticed less brush marks when I use my good brushes versus my cheaper ones.

3. Learn Paint Sheens and use accordingly.
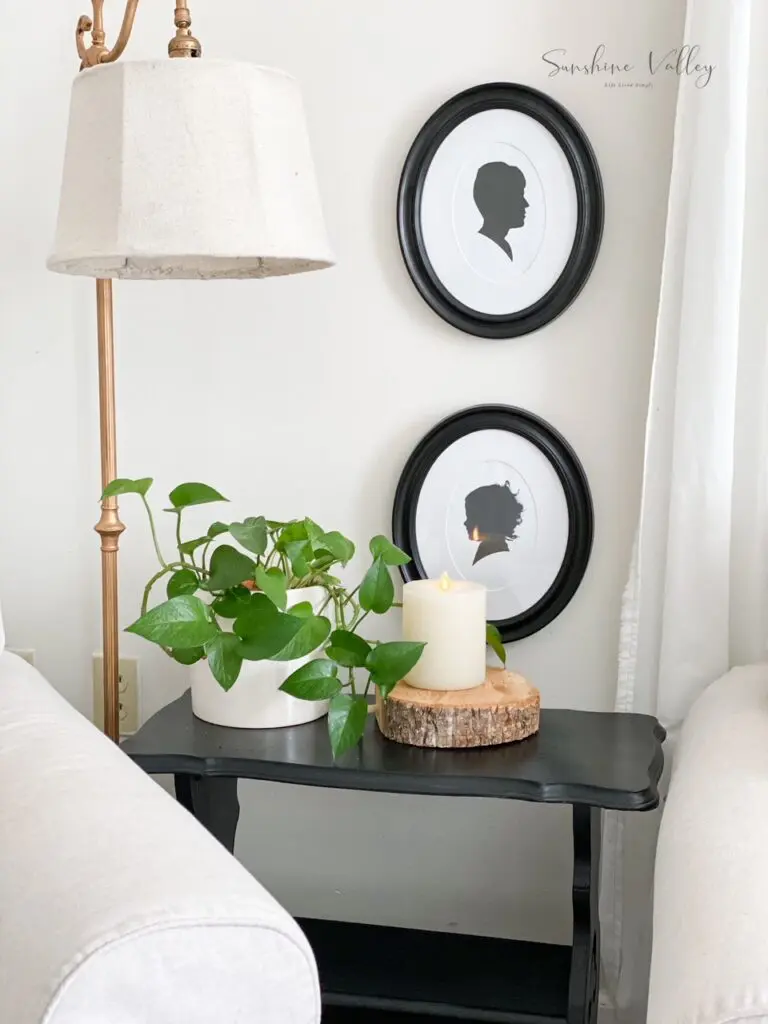
Again, something that I didn’t do until later was learn about paint sheens. It makes a huge difference in the look and feel of the piece you’re painting. For this side table in the video above I knew I wanted a glossy finish that would wipe clean with a damp cloth. Semi-gloss was the sheen of choice. I’ve used a high gloss paint in our bedroom on nightstands, satin paint on the table, and flat paint on a desk (don’t use flat paint on furniture unless you plan to seal it with poly, or never ever use it…) Take a little time to decide what finish you want, and then learn which sheen best meets your needs. A tiny bit of effort pays off in the long run.

4. Don’t let the first coat steal your joy.
There is something magical about the second coat of paint. There is something absolutely terrifying about the first. Every single painting project I’ve ever tackled I nearly get sick after the first coat. These are the thoughts I have every single time after every single first coat of paint: “Did I ruin this piece? Why did I start painting this?! It looks TERRIBLE!” When I was painting the stairs (How To Paint Stairs + Life Lately) I almost cried after the first coat. Even though I’d been down this road before, there’s still something terrifying about that first coat. It’s streaky, uneven, and looks downright awful. Then the magical second coat is applied, and all is right in the world. All those terrifying thoughts of ruining your furniture are abated, and you’re basking in the joy a beautifully updated home.
I hope these simple tips for painting furniture were helpful! I’d love to know if you’ve been doing any painting lately. I feel like I have a paintbrush permanently affixed to one hand, and a baby on my hip.
As always, thanks for stopping by the farmhouse and spending a tiny part of your day with me.

Here’s an image to pin for later…


Good tip on the primer! I’ve never used one before and haven’t had any issues on any of the furniture I’ve done but I’m sanding my kitchen cabinets now so I’ll grab some to use on those.
Definitely try it! It’s especially good to use it on laminates, too!