- 1 cup active sourdough starter bubbly and fed
- 1 cup pumpkin puree canned or homemade
- 3 cups all-purpose flour or a mix of all-purpose and whole wheat
- 2 tbsp honey or maple syrup optional, for a touch of sweetness
- 1 tsp salt
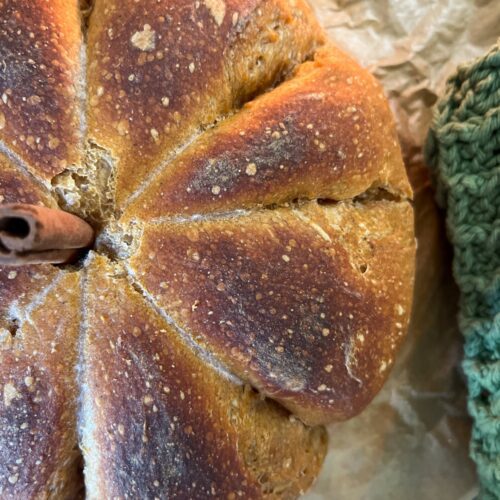
- 1 tsp ground cinnamon
- 1/2 tsp ground ginger
- 1/4 tsp nutmeg
- 1/4 tsp cloves
- 1/2 cup water adjust as needed
Feed Your Sourdough StarterBefore you begin, make sure your sourdough starter is active and ready to go. You’ll want it to be nice and bubbly. Feed it several hours ahead of time, ensuring it’s at its peak when you start mixing your dough. This ensures good fermentation and a proper rise. Mix the DoughIn a large mixing bowl, combine the active sourdough starter, pumpkin puree, honey (if using), spices, and salt. Stir these ingredients together until they form a cohesive mixture.Gradually add in the flour. You can use all-purpose flour for a lighter loaf or a mix of whole wheat and all-purpose if you want a denser, heartier bread. Slowly pour in the water while mixing, starting with about 1/2 cup. Depending on your flour and the moisture content of the pumpkin puree, you may need a little more or less water. The dough should come together in a slightly sticky ball—soft but manageable. Let the Dough Rest (bulk fermentation)Cover the bowl with a damp towel or plastic wrap and let it sit at room temperature. This first rise, or “bulk fermentation,” will take about 6 to 8 hours. During this time, the dough will double in size as the natural yeast from the starter does its magic.If you want a stronger sourdough flavor, you can let the dough ferment for up to 12 hours, but make sure your kitchen isn’t too warm. Shape the DoughAfter the dough has risen, gently turn it out onto a floured surface. At this stage, you want to be gentle so as not to knock out all of the air that’s built up. Shape the dough into your preferred loaf shape—either a round boule or an oval batard.Once shaped, place the dough seam-side down into a proofing basket (lined with a floured cloth), or directly on a baking sheet lined with parchment paper Second RiseCover the dough again and let it go through its second rise. This will take about 2 to 4 hours, depending on the temperature of your kitchen. The dough should puff up slightly, but it doesn’t need to double in size again. Preheat the Oven and Score the DoughWhile the dough is finishing its second rise, preheat your oven to 450°F (230°C). If you have a Dutch oven, place it in the oven to heat up as well. Baking the bread in a preheated Dutch oven helps trap steam, which gives the bread a beautiful, crispy crust.Once the dough has risen and the oven is preheated, gently score the top of your loaf with a sharp knife or bread lame. This allows the bread to expand in the oven without tearing. BakeCarefully place the dough into the preheated Dutch oven (or directly on the baking sheet if you’re not using a Dutch oven). If you’re using a Dutch oven, bake with the lid on for 20 minutes. Then, remove the lid and bake for another 25–30 minutes until the crust turns golden brown.If you’re baking without a Dutch oven, simply bake the loaf on the baking sheet for 40–45 minutes, keeping an eye on the crust’s color. Cool and EnjoyOnce baked, remove the bread from the oven and transfer it to a wire rack to cool completely before slicing. This cooling process allows the crumb to fully set, ensuring a soft interior and a perfect texture.